


Tassel necklaces are one of my favorite new trends that I was in love with over the summer. Of course the tassel necklaces I loved were a bit on the pricey side. When my good friend Elizabeth suggested making our own tassel necklaces I was game. It wasn’t insanely expensive so I thought why not. Plus it’s always fun to make jewelry with friends, drink coffee (maybe wine), and gossip a little!! Girl time is really precious to me because I’m a busy momma with Manny jr. He’s 9 months old, and all over the place. If you have a crafty friend invite her to get in on the tassel jewelry fun!! They also make beautiful homemade gifts for friends!! Okay lets get started!!

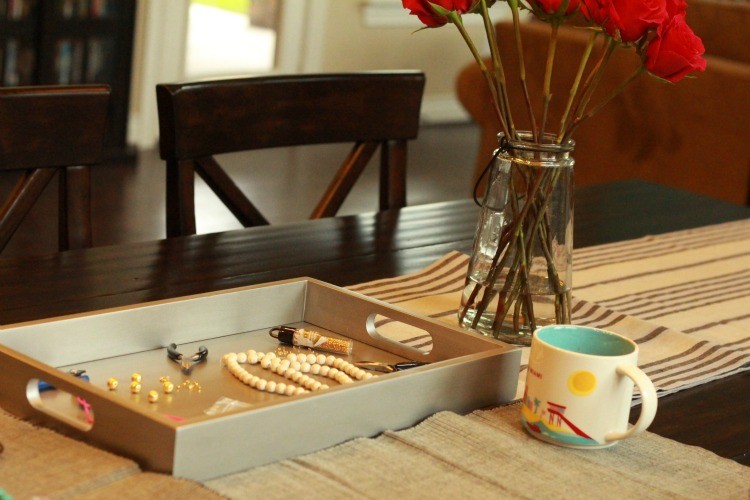
Materials
- White Beads
- Pink Tassel (Discount code for my readers! Use AGL05 for 5% off!!)
- Gold Beads
- Wire
- Crimp Beads
- Toho Glass Beads
- Jump Ring
- Clasp
- Crimp Tool
- Plier Set
- Gold Spacer Bead
Steps
Step 1 Measure the gold stringing wire to the desired length you want the necklace to be. I would suggest physically putting the stringing wire around your neck, and holding it where you want the necklace to hit. Then add another 4 inches or so, and cut it with the wire cutting scissors (Bead Landing Wire Cutters).
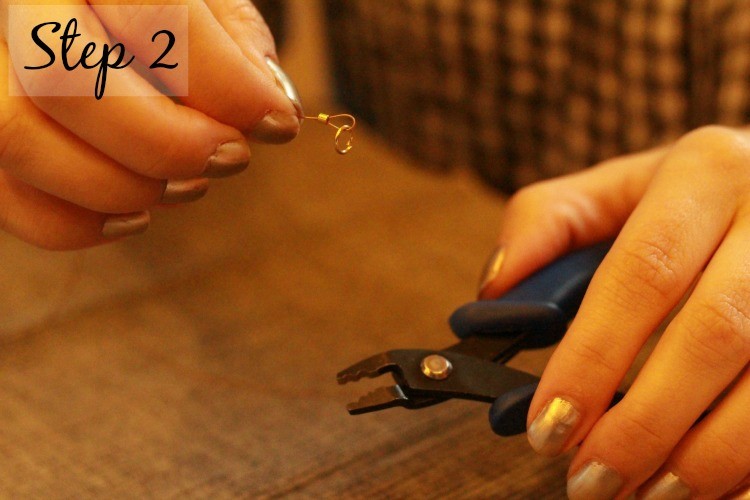
Step 2 String the crimp bead on to the stringing wire, then add the gold circular jump ring, and loop the wire back into the crimp bead. Once the crimp bead is looped tighten it around the jump ring. It should look exactly like the picture.
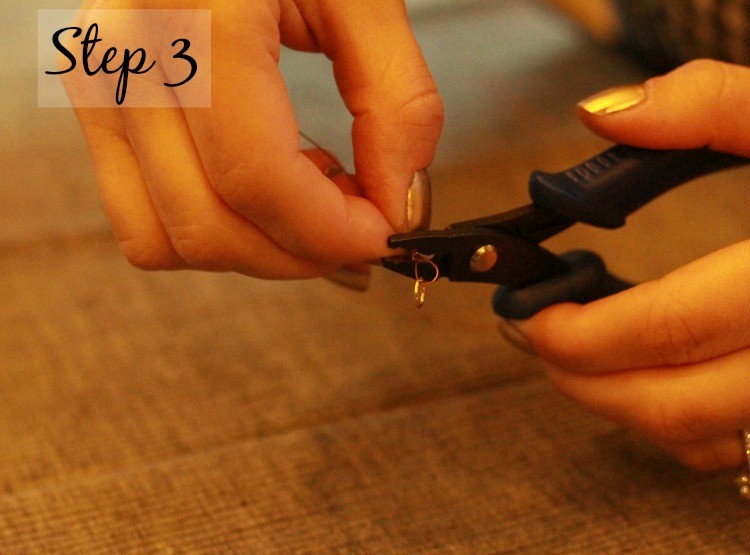
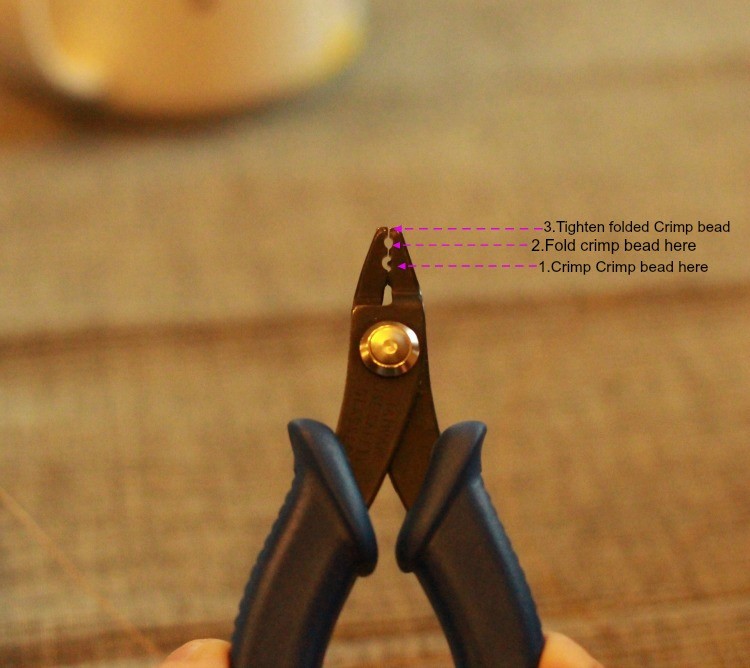
Step 3 This part is tricky; so be patient!! There is a picture above labeled 1, 2, 3 with what each part of the crimping tool is suppose to be used for. It might be easier to see that, and try to follow along. I’ll do my best to explain. Crimp the crimping bead with the crimp tool. The crimping bead should look like it’s being folded in half. Then use the second part of the crimping tool to tighten the crimp bead that is folded in half. Third tighten the crimp bead that is folded in half. You want this to be tight. Otherwise, the necklace could come apart.
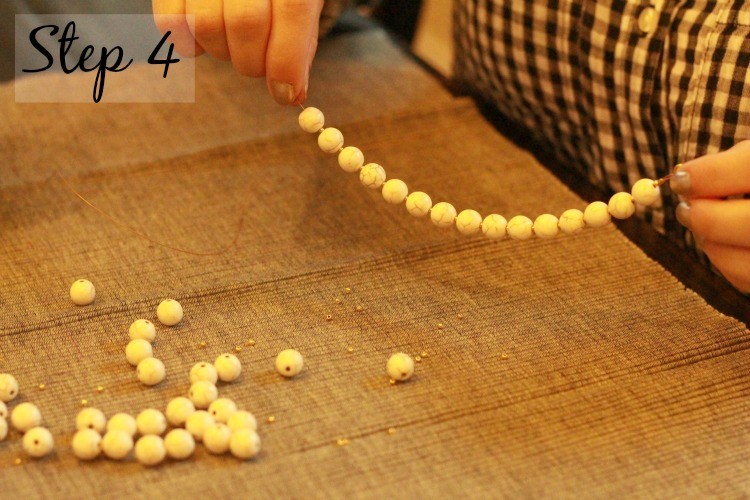
Step 4 Now you can start beading!! Use whatever pattern you like. I used the toho glass beads, white beads, and started my pattern.
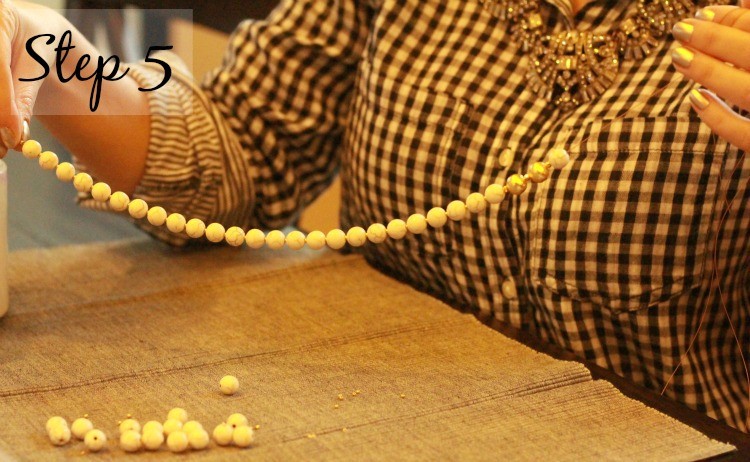
Step 5 Bead to where you want the tassel to start. This is different for everyone because of our torso lengths. I added a different pattern in (see the brushed gold and pyrite beads) to give my necklace dimension. You can do this wherever in your pattern you choose. Continue beading until about 1 inch before you want the tassel to start.
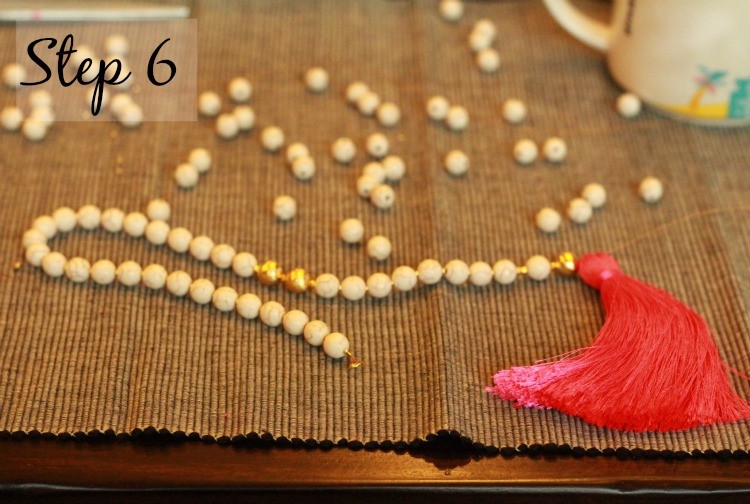
Step 6 The linked tassel comes with a string through the top. This can be cut and pulled out. Please be careful when you do this it’s easy to damage your tassel when doing this step!!
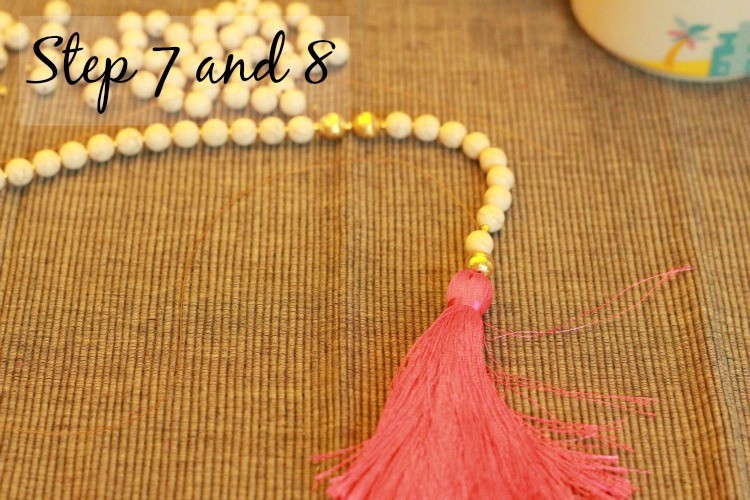
Step 7 Loop the gold stringing wire through the top the tassel, and then back through the brushed gold bead, white bead, and pyrite bead that you just beaded.
Step 8 Start the second side of the necklace with the bead pattern again.
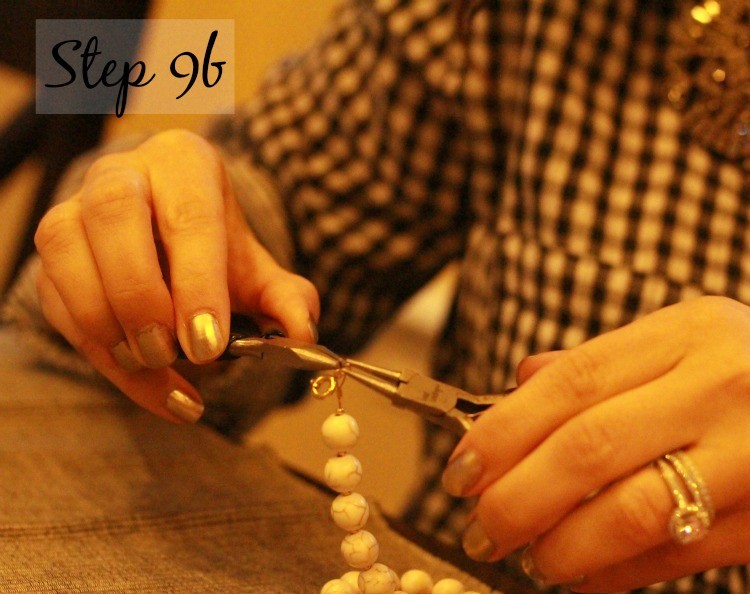
Step 9 Repeat Step 2 and add a clasp to the jump ring.