• Home
  • About
  • Outfits
  • Shop
    • Shop My Instagram
    • Holiday Gift Guides
  • Beauty
  • Contact

Pretty In Her Pearls

By Angela Amores

Scarf & Pink and Red Statement Necklace…

February 5, 2016

Laid Back Valentines OutfitScarf, white top, and skinny corduroys and bootiesPink tassel statement necklace with skinny corduroysPink and red statement tassel necklace #FrancescasLunch Date OutfitDressing up a laid back outfitPink and purple scarf and skinny corduroys and booties

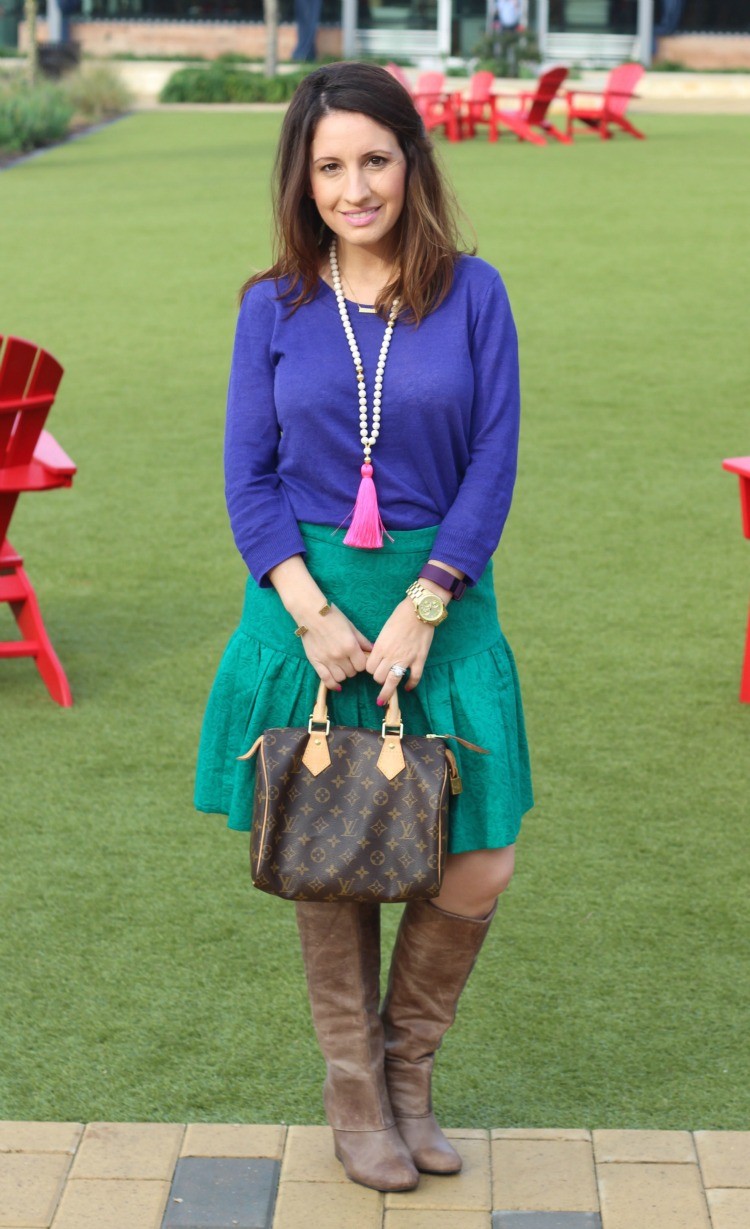
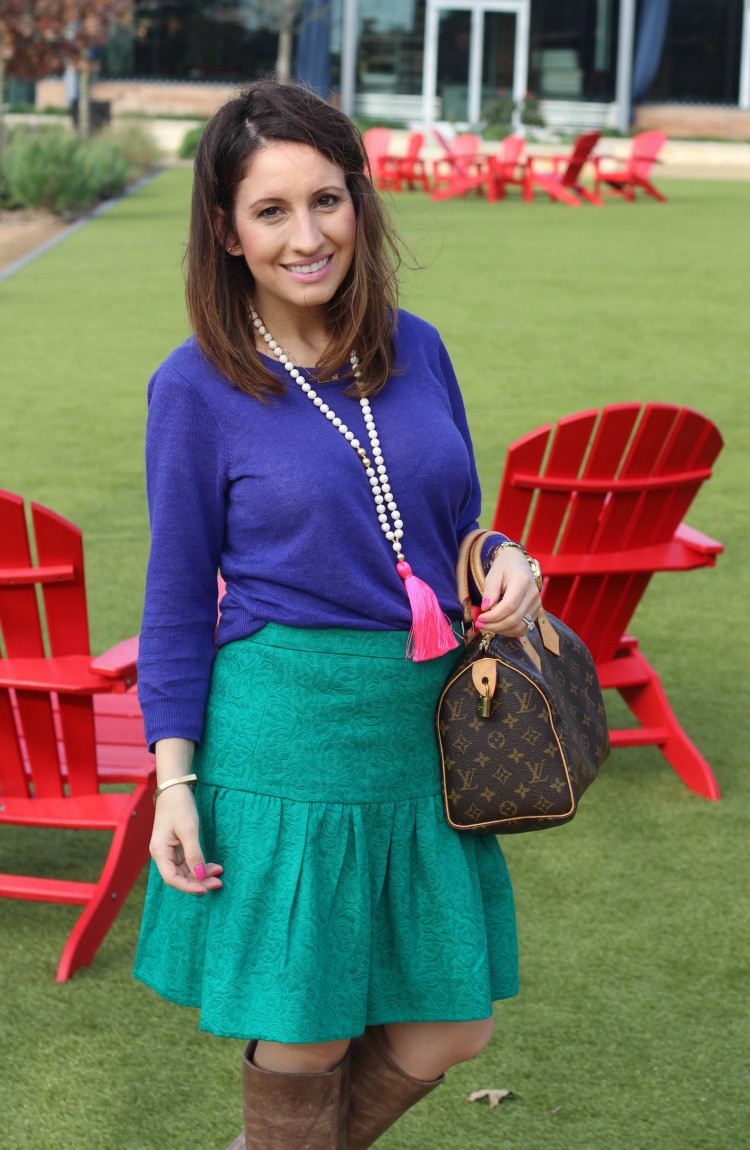
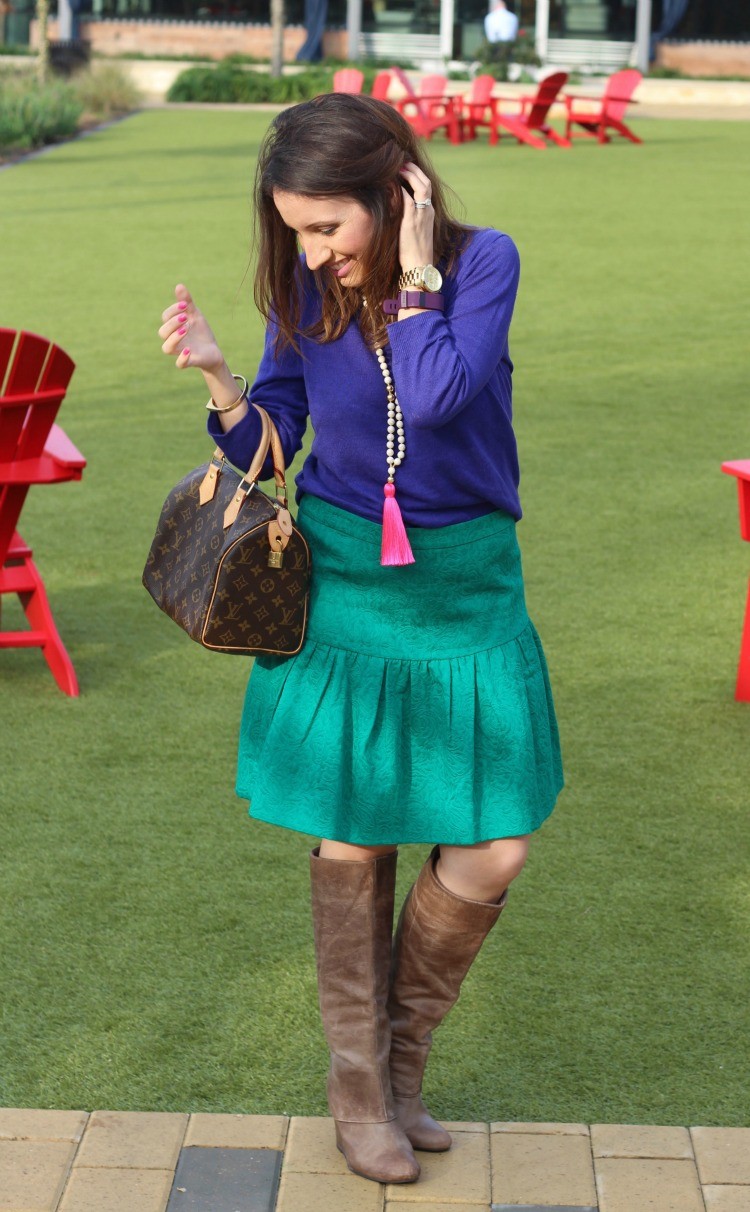
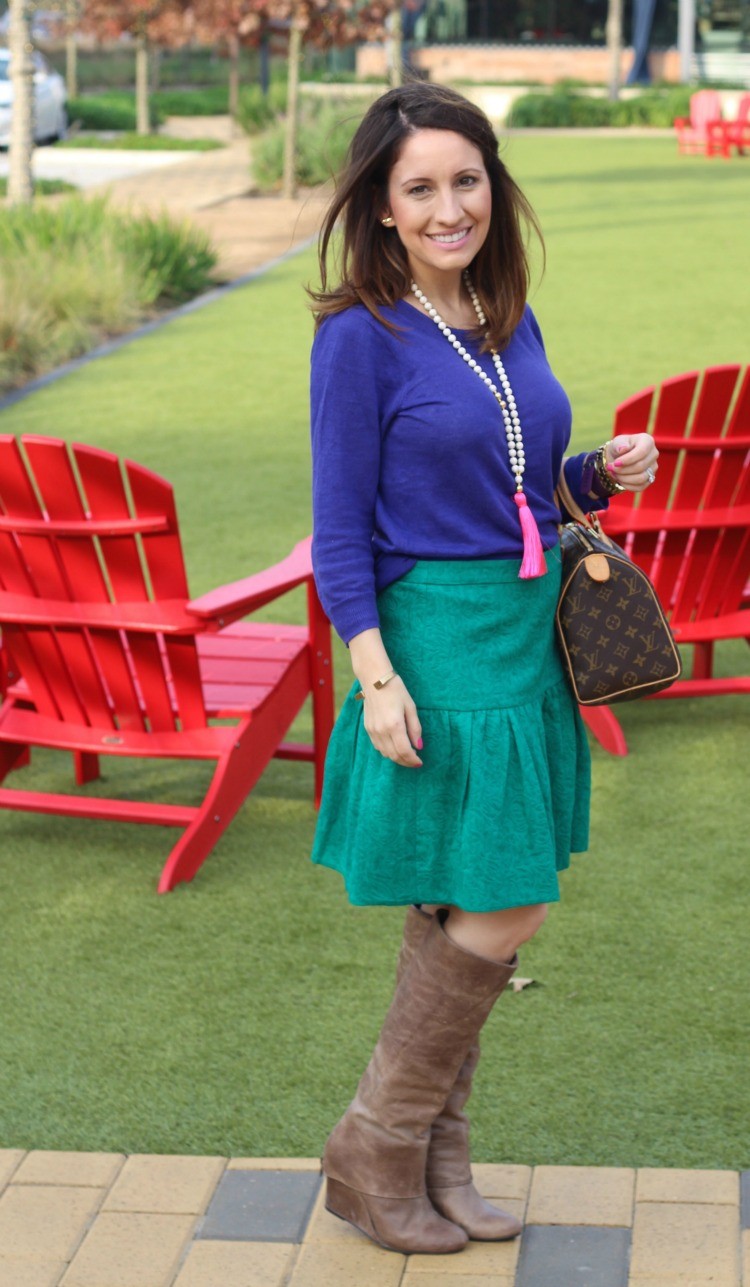
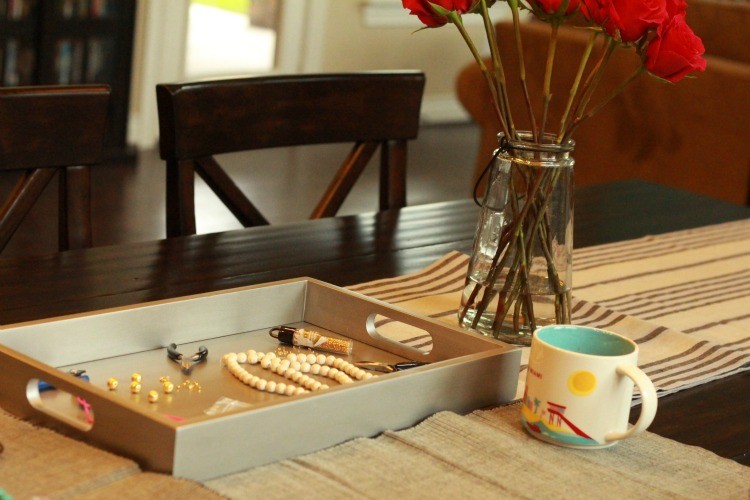
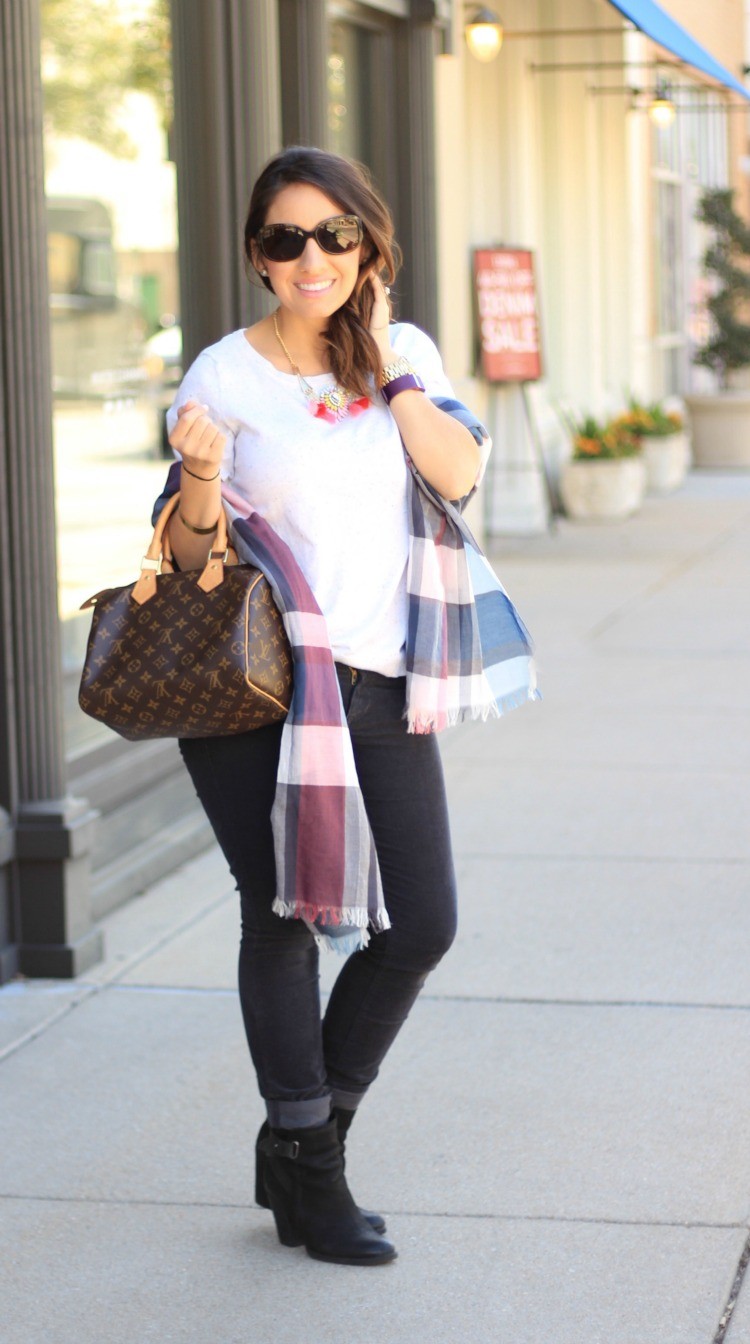
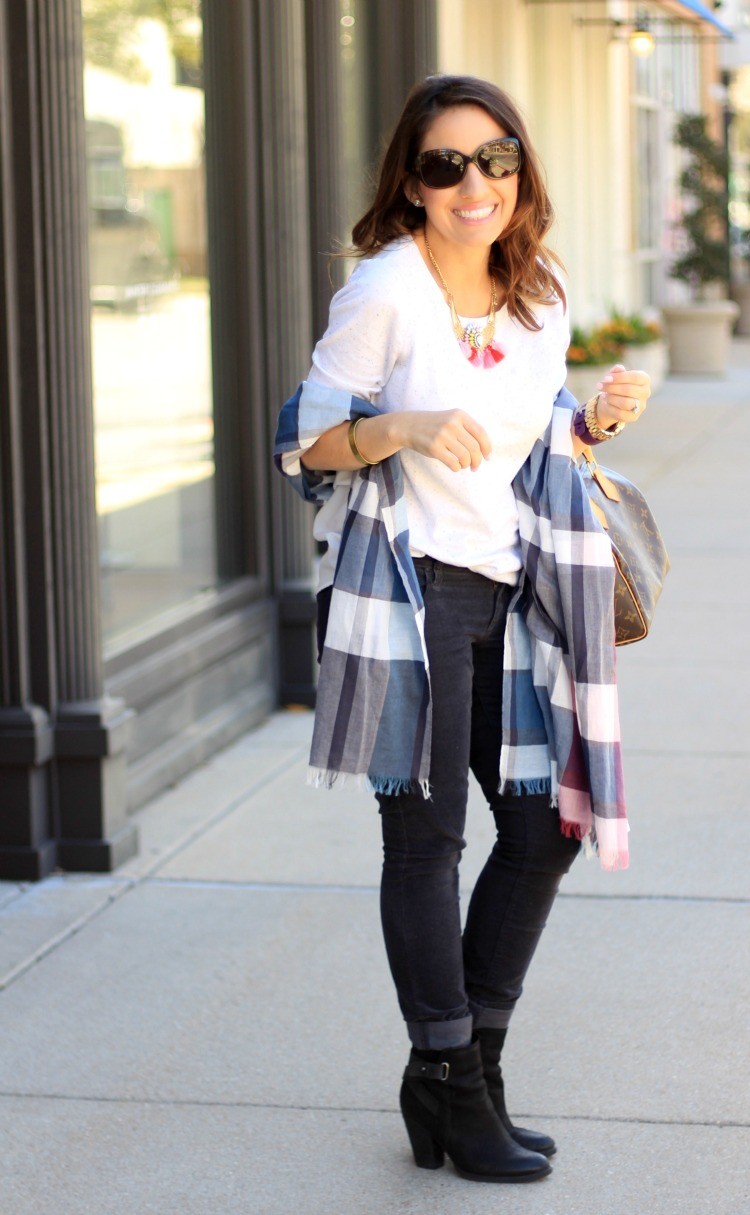
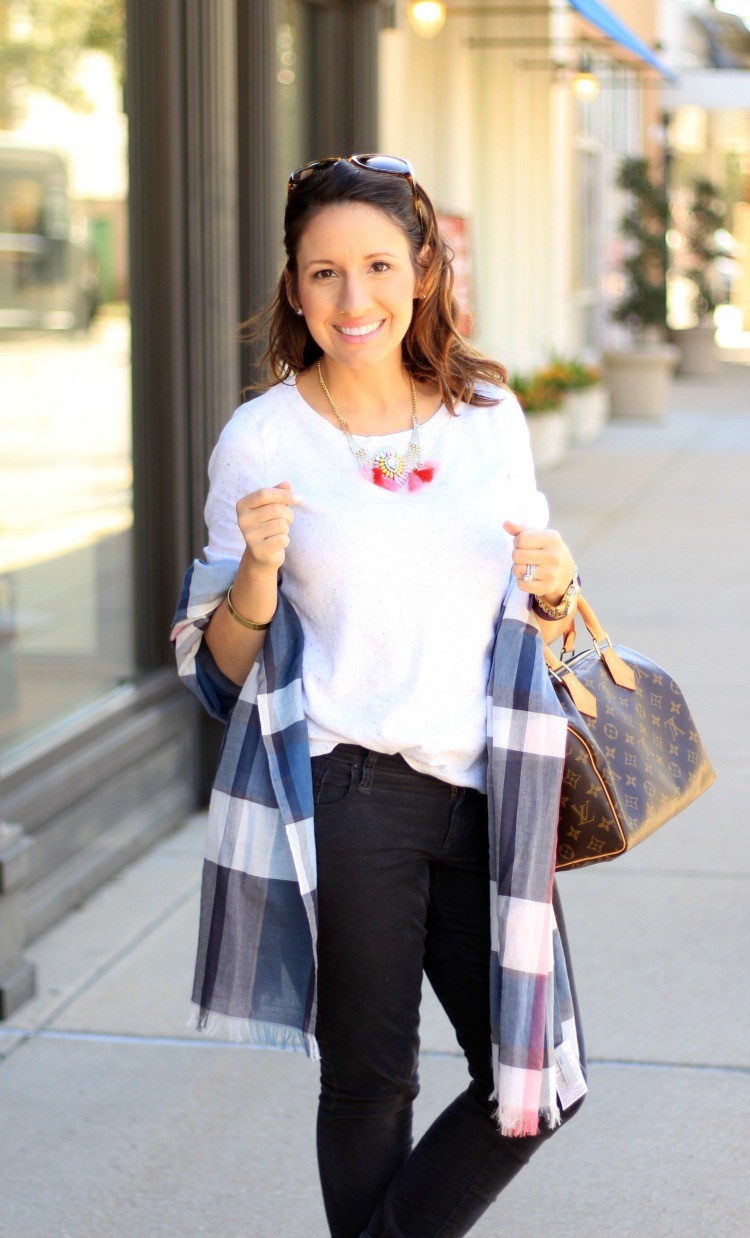
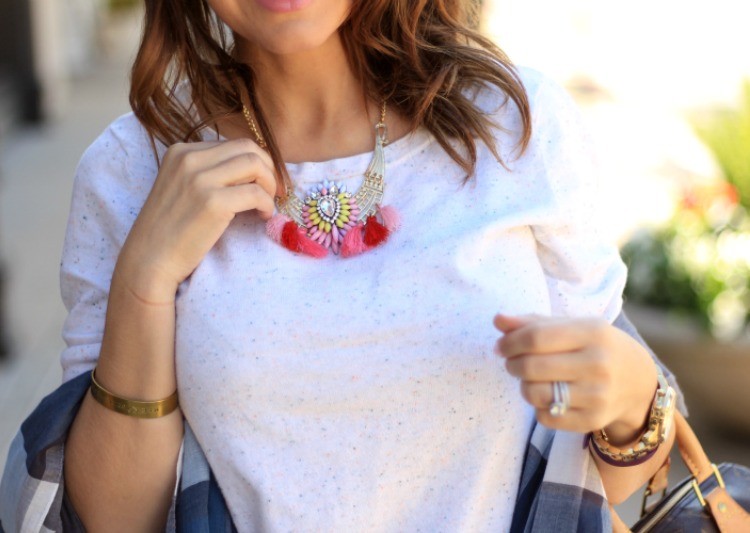
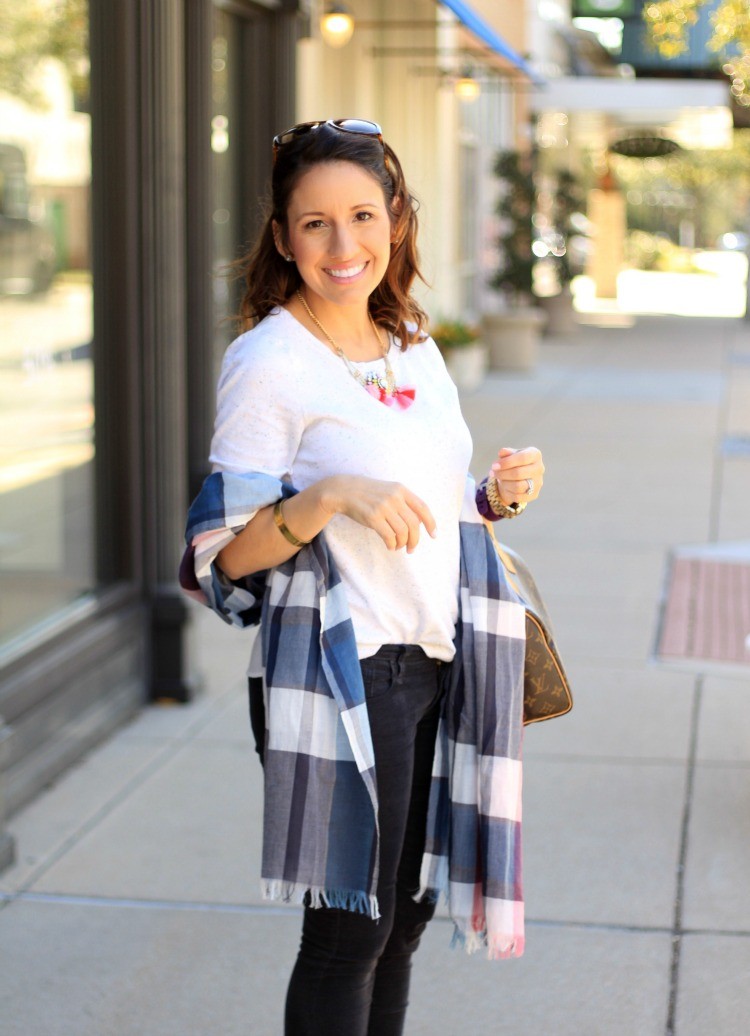
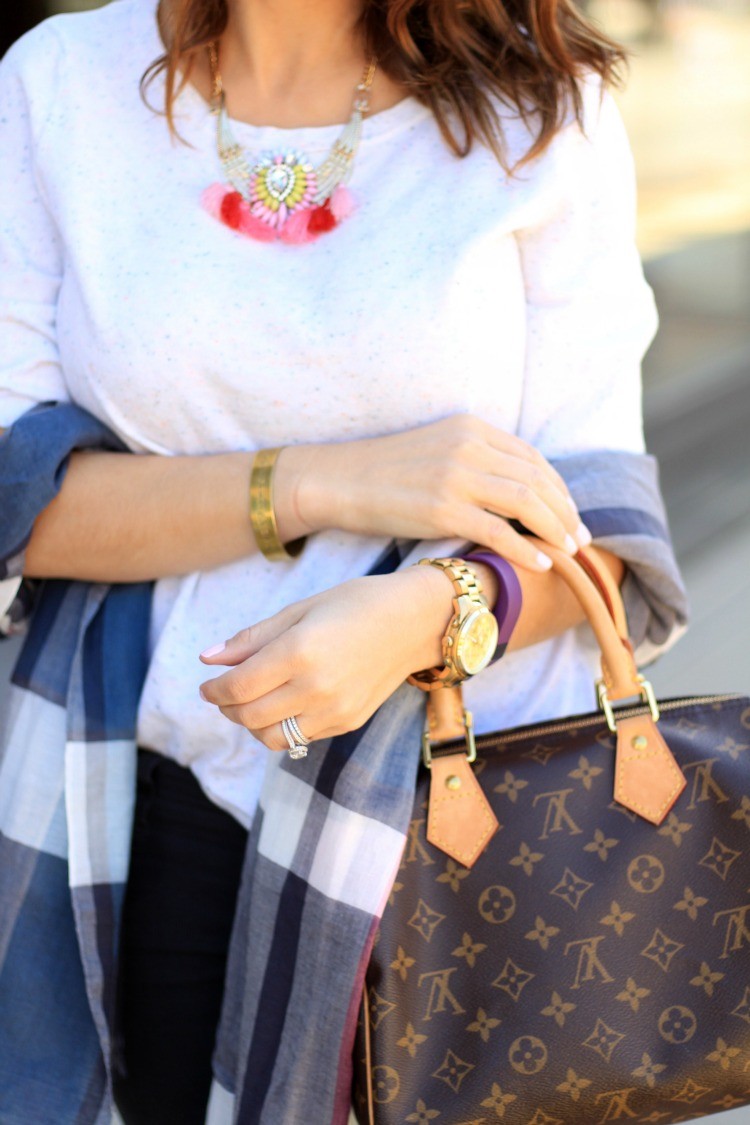
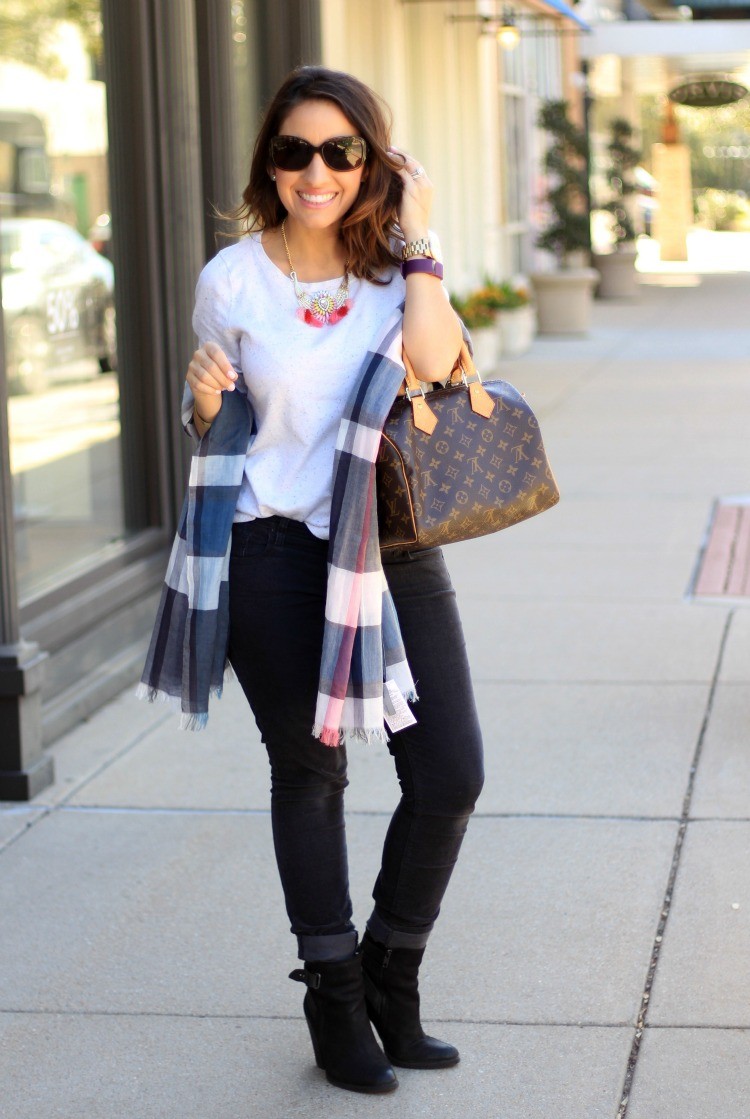
Scarf:Gap sold out (similar style) | Top:H&M old (similar style) | Pants:Old Navy | Booties:Old (similar style) | Earrings:Stella and Dot | Necklace:Francesca’s c/0 sold out (similar style) | Bracelet:Knox Thomas Designs c/o | Watch:Michael Kors, Fitbit | Lips:Snob

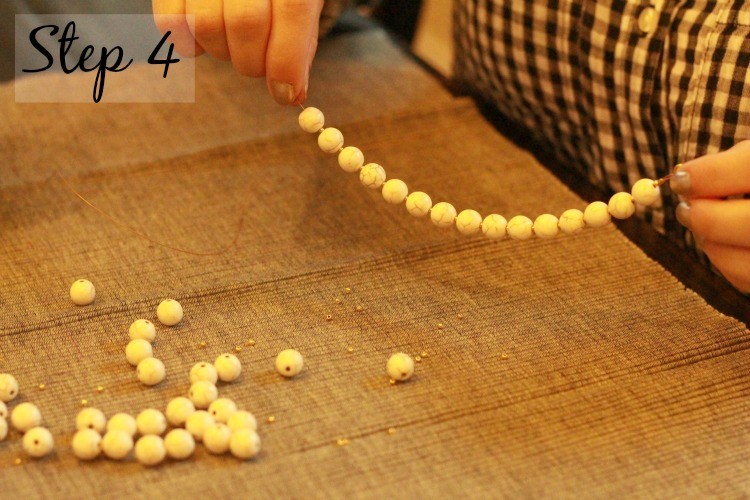
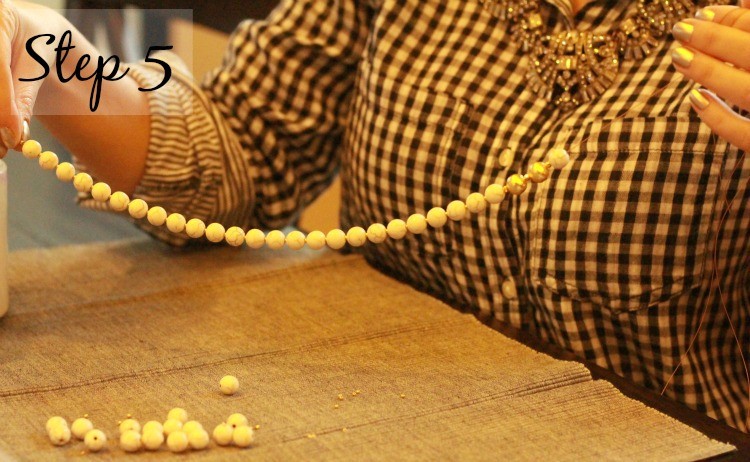
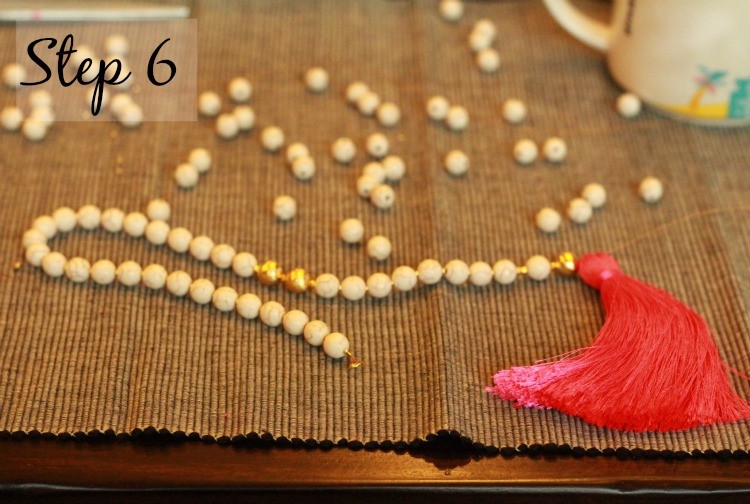
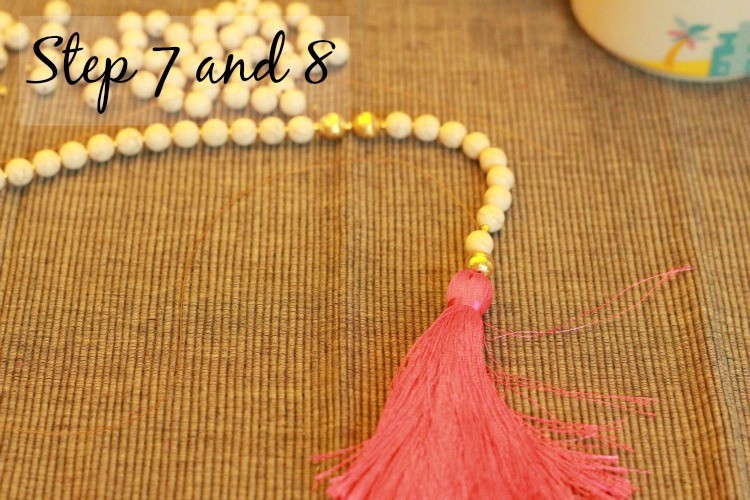
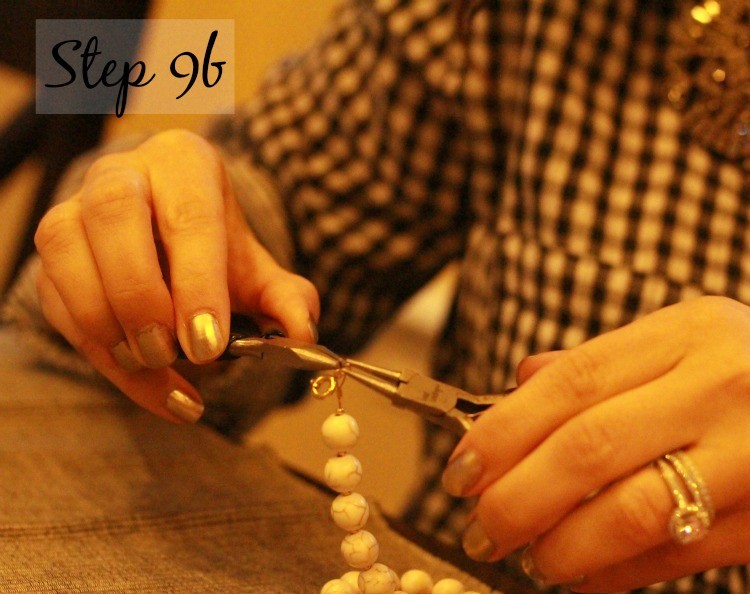
Scarves and statement necklaces are two of my favorite statement pieces especially in the fall and winter. They can really add more depth to a laid back outfit. I absolutely love the pink and red tassels in this Francesca’s statement necklace. It makes me think of all things girly, and related to Valentines. Plus who doesn’t love a good excuse to add pops of pink here and there.

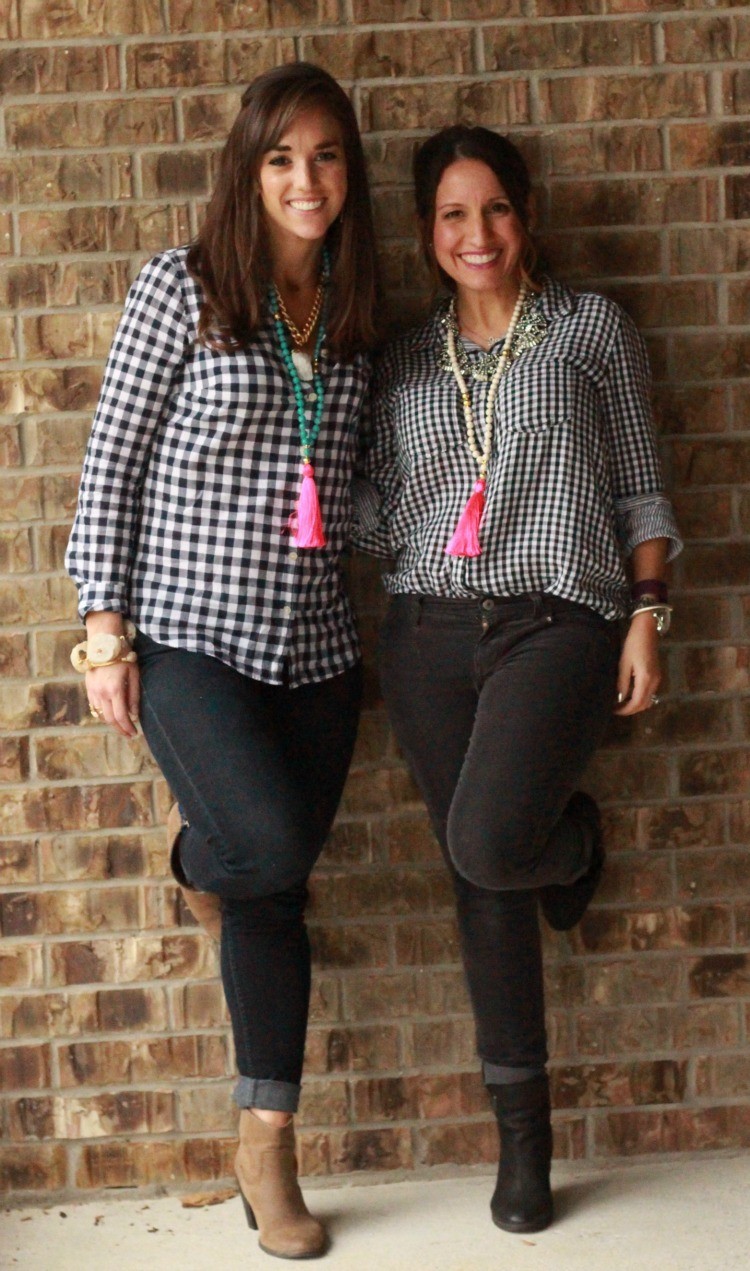
I wore this for a Blogger lunch date with Brittany from The Hello Honey Blog, and her adorable son Bear. Is that not the cutest name? Manny Jr. was so excited to meet him. Bear was so sweet with my little man. Brittany is a fashionable mom with a stylish blog that also includes some great ideas for getting crafty in the DIY department. I’ve saved a few of her ideas for when little man is a little older. I think he will love playing with me in the kitchen. It’s been really cool to see how fascinated my son is with other little boys. Sometimes he borderlines on staring, but he’s just so interested in anything they are doing. I’ve tried before to sway his attention because he will literally stare for minutes not seconds. Thankfully the boys that have his full attention are very sweet!!

Thanks for stopping by!! Hope you have a great weekend!!

XO, Angela

Filed Under: Outfits Tagged With: Corduroys, Francesca's, Oversized Plaid Scarf - Multicolored, statement necklace, Tassel Necklace

Ruffle Skirt Game Day Look

January 15, 2016

How to wear tall boots, and a skirtGreen ruffle J.Crew skirtGirly game day styleLayering necklacesJ.Crew Tippi sweater,and the perfect tassel necklace diyHow to wear a purple sweater

Sweater:J.Crew | Skirt:J.Crew (similar style) | Boots:Old via Nordstrom Rack (similar style) | Bag:Louis Vuitton (similar style) | Earrings:Kate Spade | Necklace:Bauble Bar, Tassel Necklace DIY  (Made by mui!! DIY here, similar style) | Bracelet:Madewell (similar style) | Watch:Michael Kors | Lips:Snob

Winter is officially here, and it feels like anything but winter in Houston. These light weight J.Crew sweaters are my absolute favorite to wear. It’s warm one moment, and cool the next so I really like layering with them. This outfit is also perfect for fall football game days because it has a dressy yet laid back feel. This outfit is definitely one I’m filing away for football games. You can never have too many options, am I right? Thanks so much for stopping by!! Hope y’all are have a fabulous weekend!!

XO, Angela

Filed Under: Outfits Tagged With: DIY TASSEL NECKLACE, Game Day Outfit, J.Crew, Tassel Necklace, Tassel Necklace DIY

Tassel Necklace DIY

December 7, 2015

Coffee, roses, and DIY Tassel Necklace Tutorial #DIYNECKLACETUTORIAL #TasselNecklaceDIY Tassel Necklace Materials Needed #DIY #DIYTASSELNECKLACEStep 1 DIY Tassel NecklaceStep 2 DIY Tassel NecklaceStep 3 DIY Tassel NecklaceCloseup of Crimp Tool for Crimp BeadStep 4 DIY Tassel NecklaceStep 5 DIY Tassel NecklaceStep 6 DIY Tassel NecklaceStep 7 and 8 DIY Tassel NecklaceStep 9a DIY Tassel NecklaceStep 9b DIY Tassel NecklaceDIY TASSEL Necklaces finishedMatching Crafty ladies in DIY Tassel Necklaces

Tassel necklaces are one of my favorite new trends that I was in love with over the summer. Of course the tassel necklaces I loved were a bit on the pricey side. When my good friend Elizabeth suggested making our own tassel necklaces I was game. It wasn’t insanely expensive so I thought why not. Plus it’s always fun to make jewelry with friends, drink coffee (maybe wine), and gossip a little!! Girl time is really precious to me because I’m a busy momma with Manny jr. He’s 9 months old, and all over the place. If you have a crafty friend invite her to get in on the tassel jewelry fun!! They also make beautiful homemade gifts for friends!! Okay lets get started!!

XO, Angela


Materials

  • White Beads
  • Pink Tassel (Discount code for my readers! Use AGL05 for 5% off!!)
  • Gold Beads
  • Wire
  • Crimp Beads
  • Toho Glass Beads
  • Jump Ring
  • Clasp
  • Crimp Tool
  • Plier Set
  • Gold Spacer Bead

Steps

Step 1 Measure the gold stringing wire to the desired length you want the necklace to be. I would suggest physically putting the stringing wire around your neck, and holding it where you want the necklace to hit. Then add another 4 inches or so, and cut it with the wire cutting scissors (Bead Landing Wire Cutters).

Step 2 String the crimp bead on to the stringing wire, then add the gold circular jump ring, and loop the wire back into the crimp bead. Once the crimp bead is looped tighten it around the jump ring. It should look exactly like the picture.

Step 3 This part is tricky; so be patient!! There is a picture above labeled 1, 2, 3 with what each part of the crimping tool is suppose to be used for. It might be easier to see that, and try to follow along. I’ll do my best to explain.  Crimp the crimping bead with the crimp tool. The crimping bead should look like it’s being folded in half. Then use the second part of the crimping tool to tighten the crimp bead that is folded in half. Third tighten the crimp bead that is folded in half. You want this to be tight. Otherwise, the necklace could come apart.

Step 4 Now you can start beading!! Use whatever pattern you like. I used the toho glass beads, white beads, and started my pattern.

Step 5 Bead to where you want the tassel to start. This is different for everyone because of our torso lengths. I added a different pattern in (see the brushed gold and pyrite beads) to give my necklace dimension. You can do this wherever in your pattern you choose.  Continue beading until about 1 inch before you want the tassel to start.

Step 6  The linked tassel comes with a string through the top.  This can be cut and pulled out. Please be careful when you do this it’s easy to damage your tassel when doing this step!!

Step 7 Loop the gold stringing wire through the top the tassel, and then back through the brushed gold bead, white bead, and pyrite bead that you just beaded.

Step 8 Start the second side of the necklace with the bead pattern again.

Step 9 Repeat Step 2 and add a clasp to the jump ring.

Filed Under: Outfits Tagged With: DIY, DIY TASSEL NECKLACE, Tassel Necklace

  • Bloglovin
  • Facebook
  • Instagram
  • Pinterest
  • Twitter

@PrettyInherPearls


Shop My Instagram

Subscribe


Search

Sponsors

Romwe Fall Coats

Archives


The Fine Print

Pretty In Her Pearls is a part of several affiliate advertising programs. This means that if you click and/or make a purchase through certain links on this site or any other related social media platform (including Pinterest, Facebook, and Twitter), I may make a commission from the click and/or purchase. All opinions are my own. I will always disclose gifted items with c/o.

© Copyright 2015 Pretty In Her Pearls · Site design & development by Olive & Ivy Design